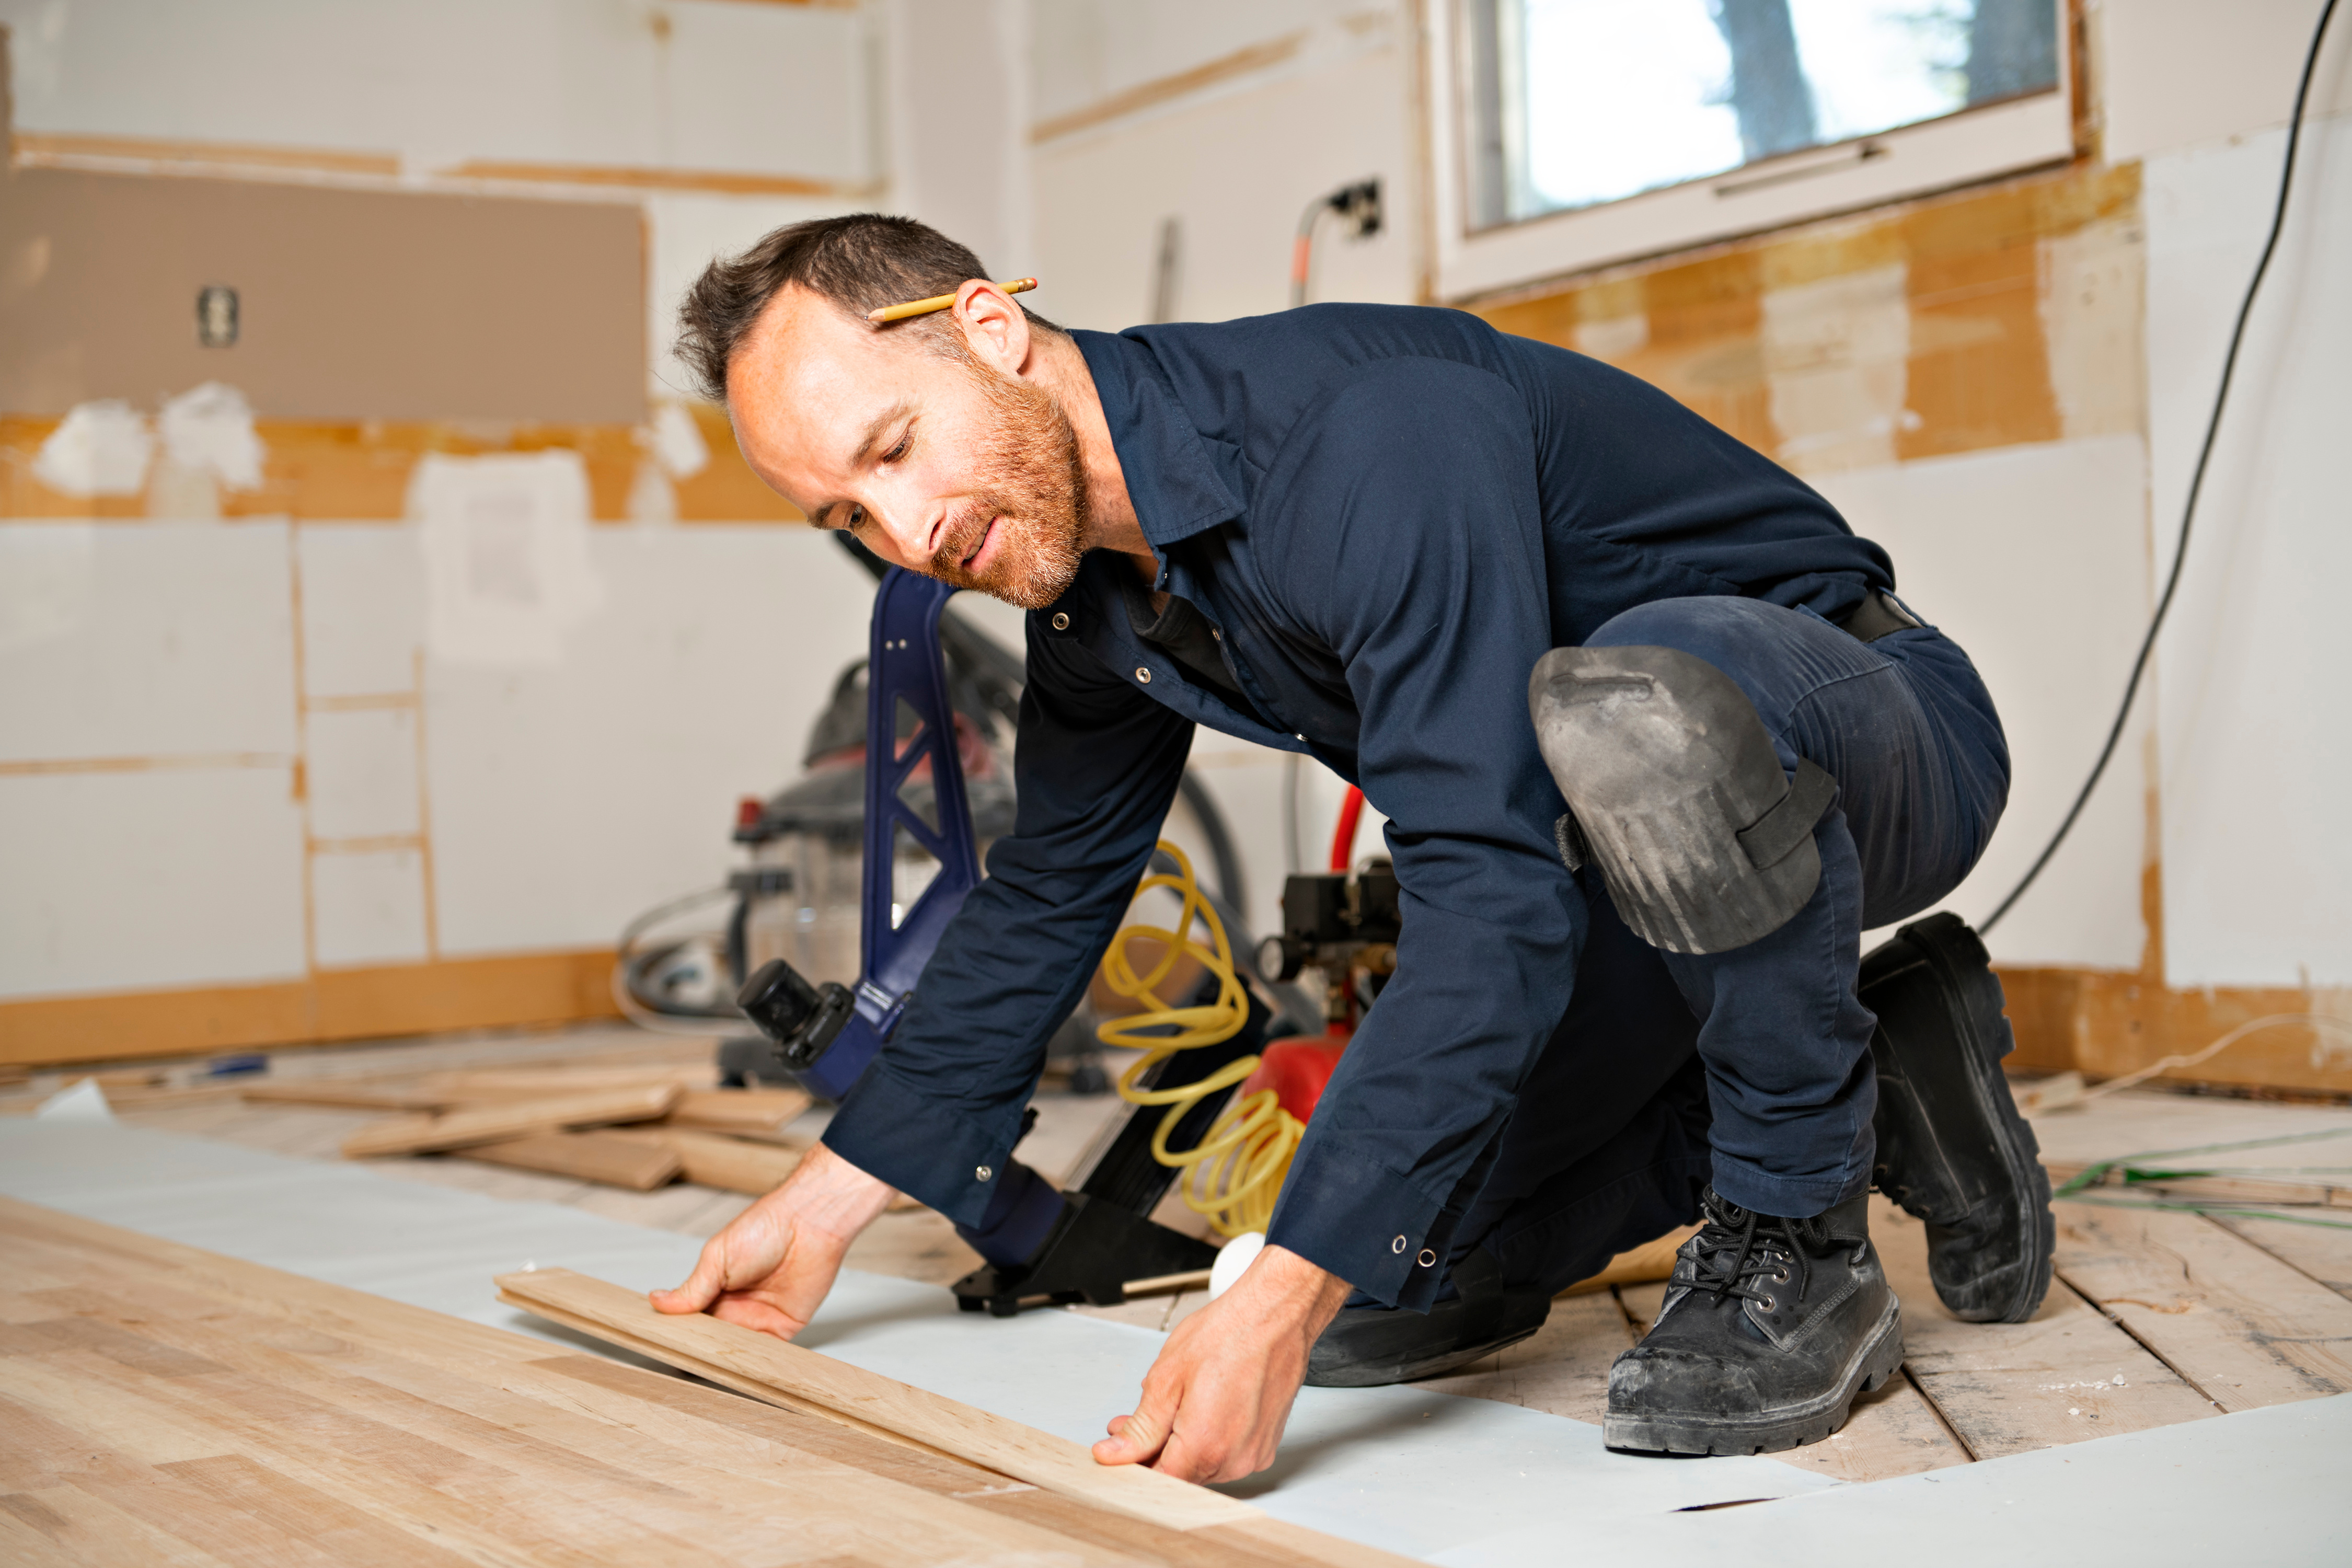
How to Prepare Your Burlington Home for New Flooring Installation: A 2024 Guide
When it comes to transforming your home in Burlington, WI, with new flooring, preparation is key. At Ketter’s Flooring, we know that proper prep work can make all the difference in ensuring a smooth and successful floor installation. Whether you’re getting hardwood, luxury vinyl, or carpet installed, this guide will walk you through everything you need to know to prepare your home for new flooring installation services in 2024.
Why Preparation is Crucial for Floor Installation Services
Before diving into the steps of preparation, let’s take a moment to understand why it’s so important. Proper preparation helps to:
- Ensure that the installation process is efficient and hassle-free.
- Prevent potential issues, such as uneven flooring or improper adhesion.
- Protect your investment by extending the life and durability of your new floors.
Now, let’s explore how you can get your Burlington home ready for the exciting transformation.
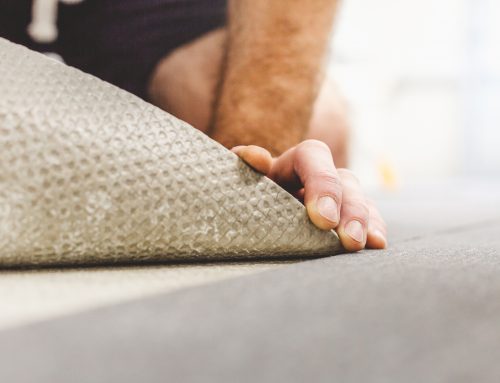
Step 1: Clear the Space
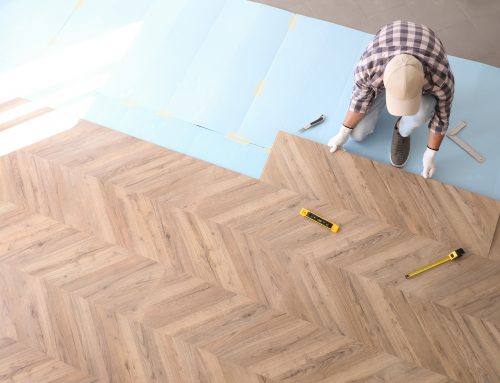
The first step in preparing for your new flooring is to clear the area where the installation will take place. This means removing all furniture, décor, and personal items from the room. While this may seem like a daunting task, it’s essential for allowing the installation team to work efficiently and safely.
Pro Tip for 2024: As more homeowners embrace minimalism and multifunctional spaces, consider this an opportunity to declutter and reorganize your home. You might even find that your new flooring complements a more streamlined and modern aesthetic!
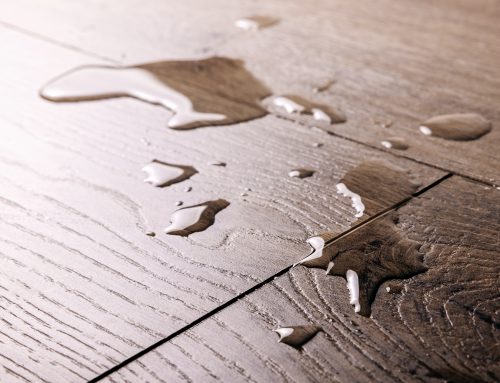
Step 2: Address Subfloor Issues
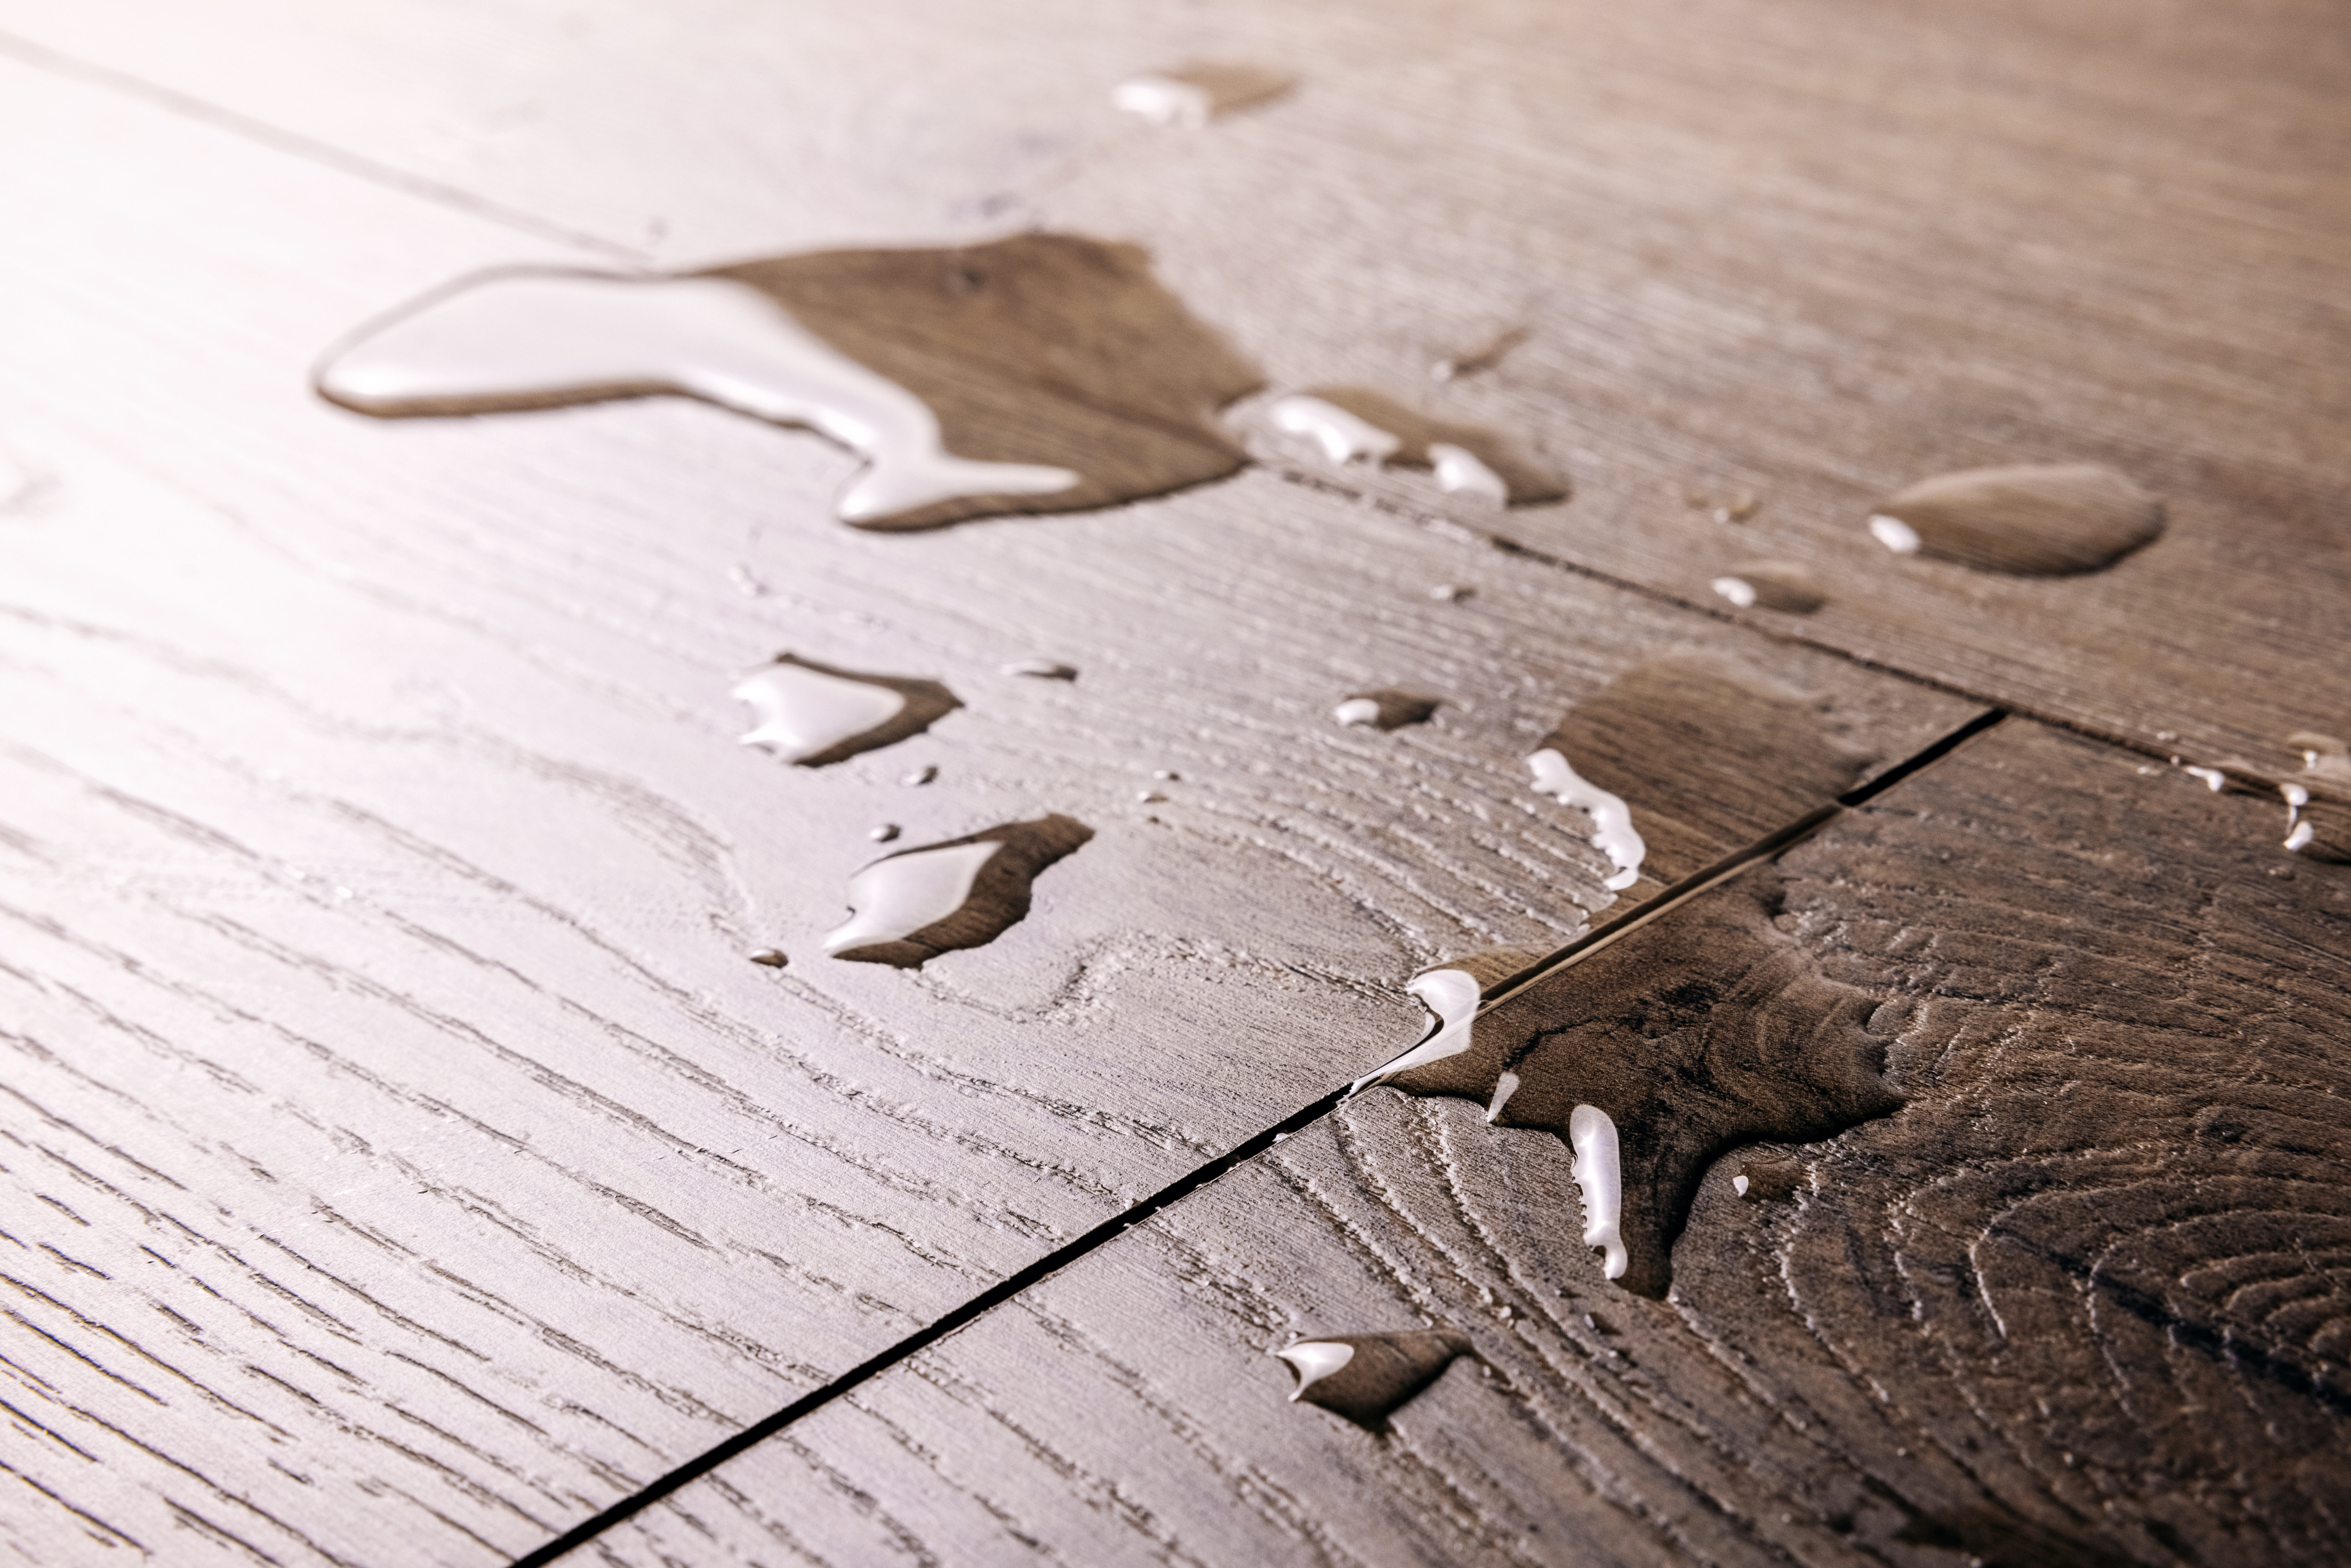
Your subfloor is the foundation upon which your new flooring will be installed. It’s crucial to ensure that it’s in good condition. Any imperfections in the subfloor, such as cracks, uneven areas, or moisture issues, should be addressed before the installation begins.
How to Handle Subfloor Problems:
- Cracks and Uneven Areas: Small cracks can be filled with a leveling compound, while larger issues might require professional attention.
- Moisture: Particularly important for installations involving hardwood or laminate, as moisture can cause warping or damage over time.
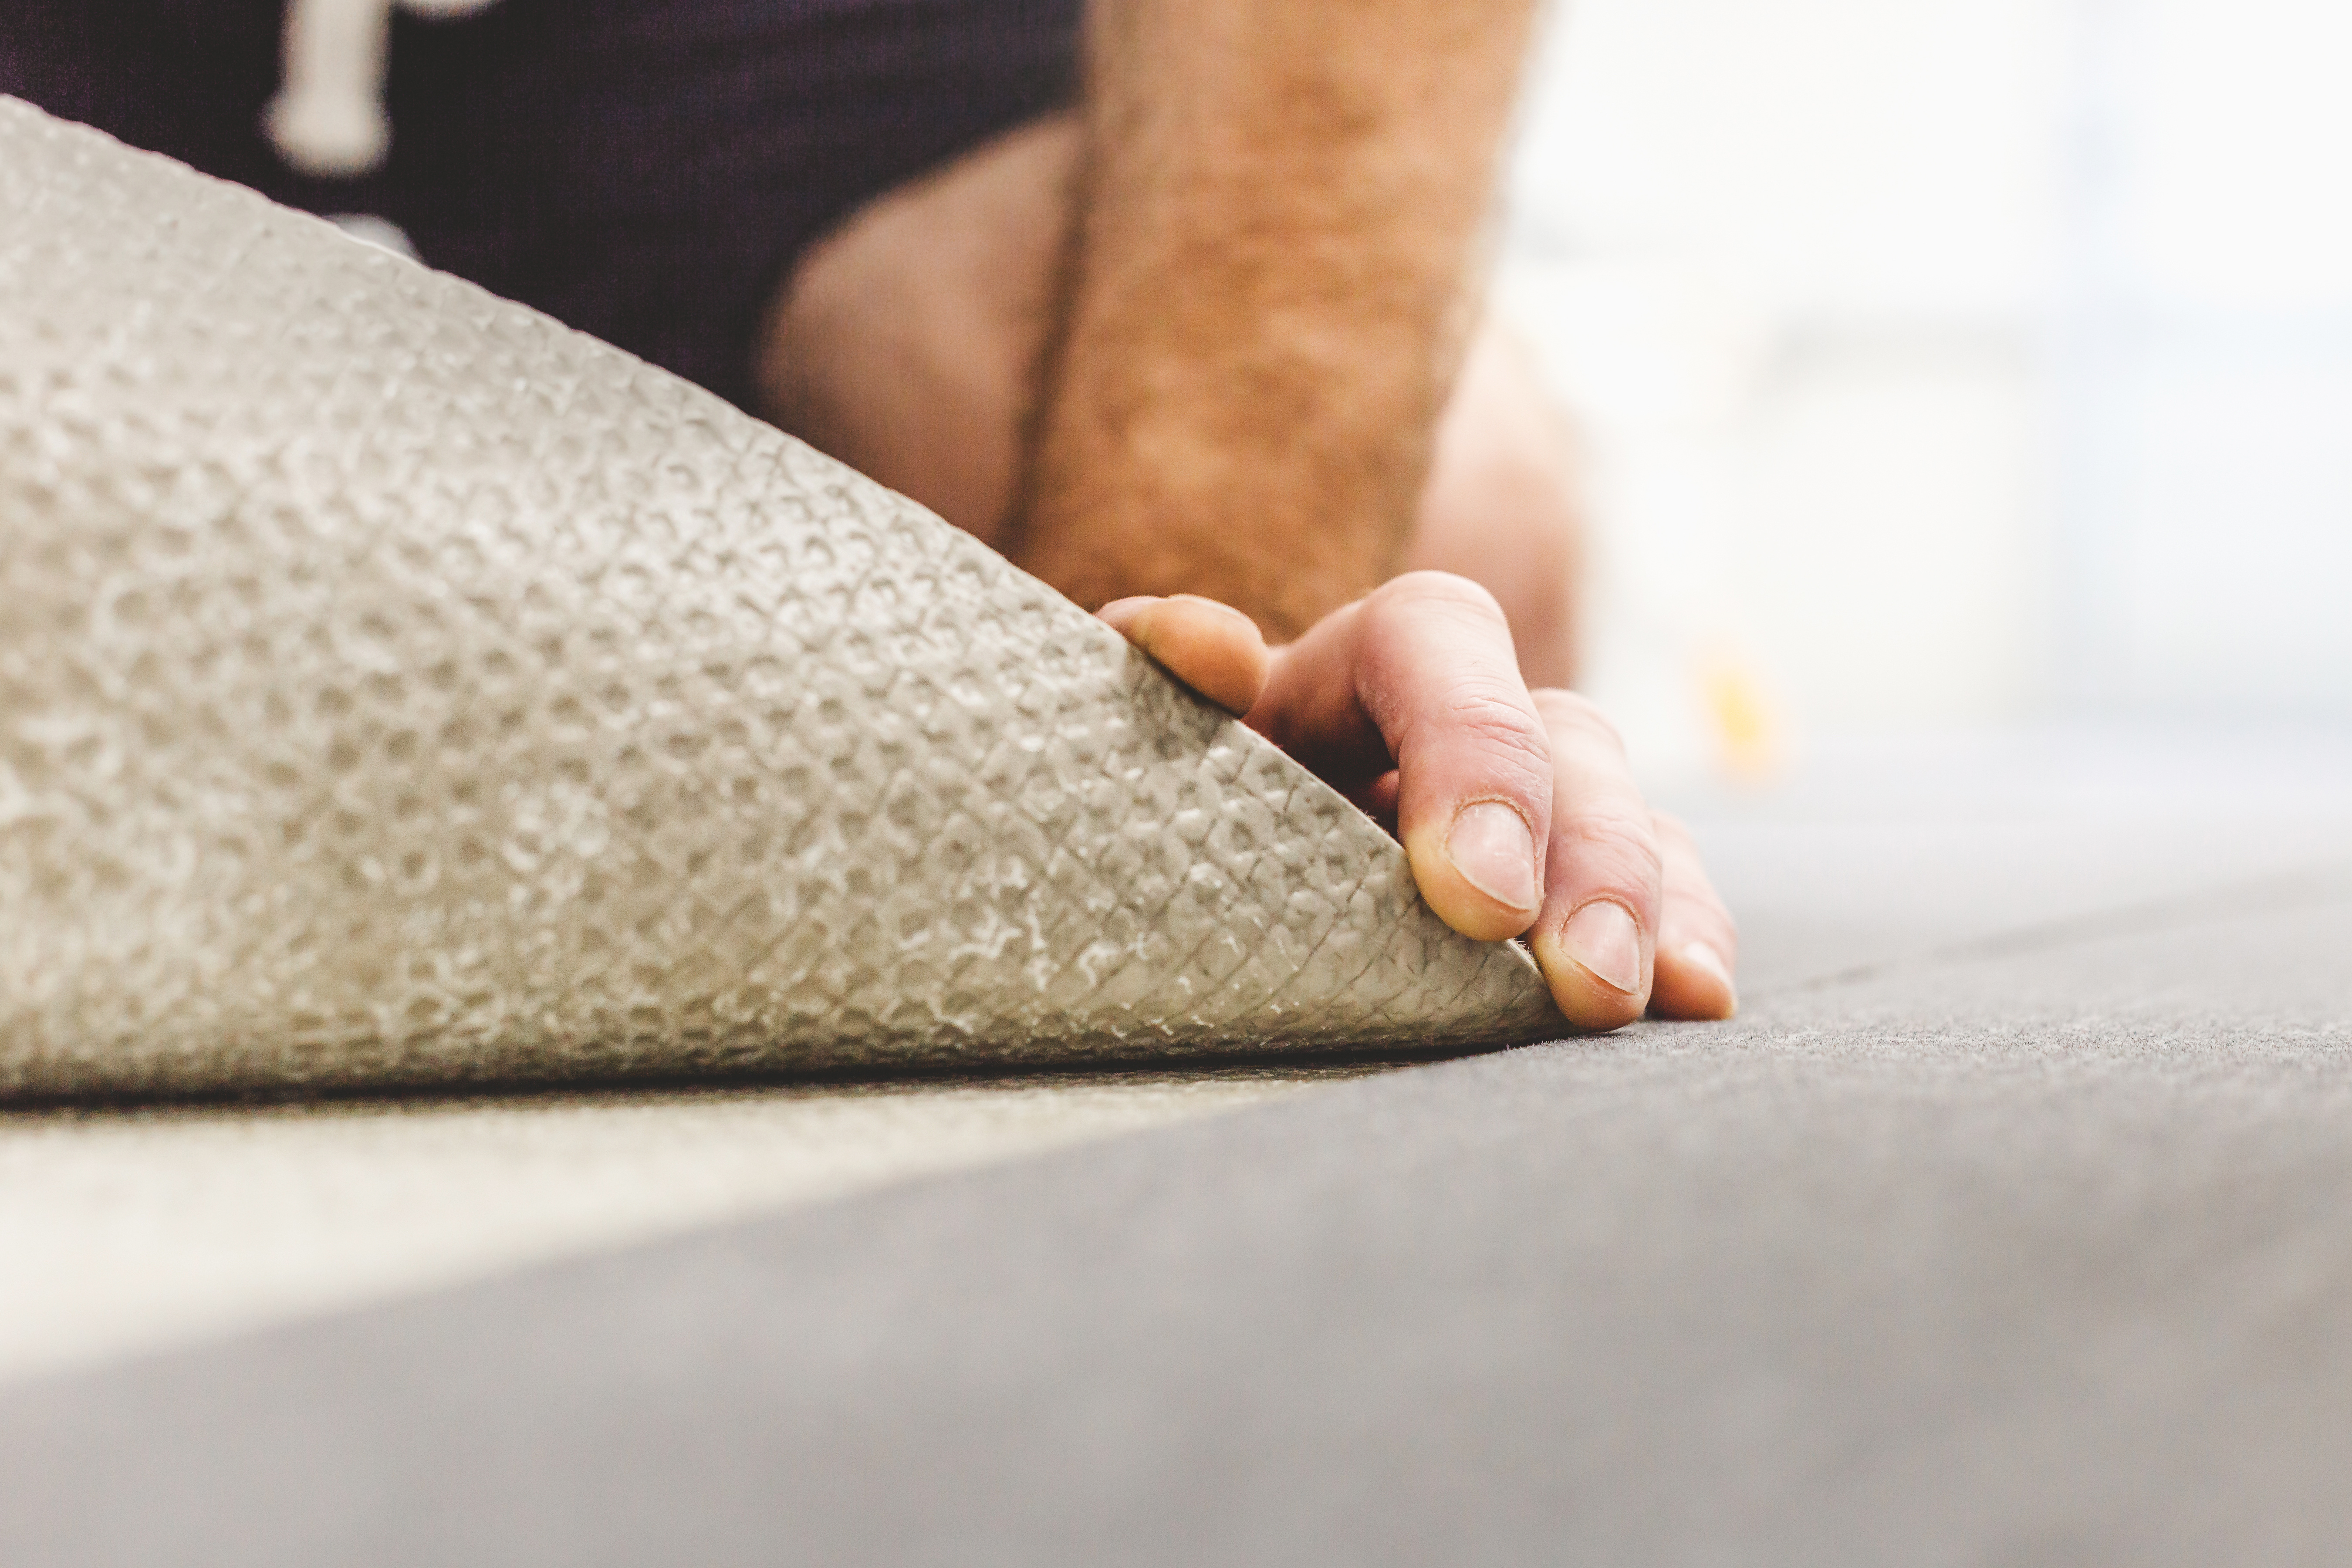
Step 3: Plan for Transitions and Molding
Floor transitions and moldings are often overlooked, but they play a crucial role in the overall look and functionality of your new flooring. These elements help create a seamless flow between different rooms and flooring types.
Consider This: If you’re installing flooring in multiple rooms, think about how the transitions will look between different spaces. For instance, the transition between a hardwood floor in your living room and a tile floor in your kitchen should be both visually appealing and functional.
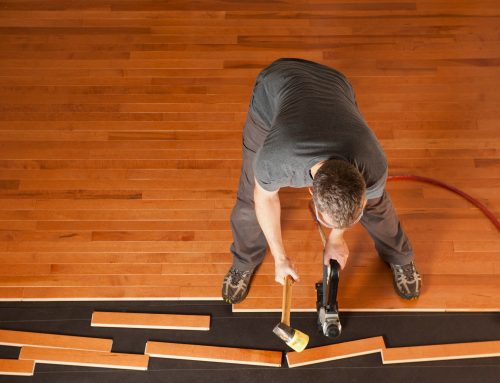
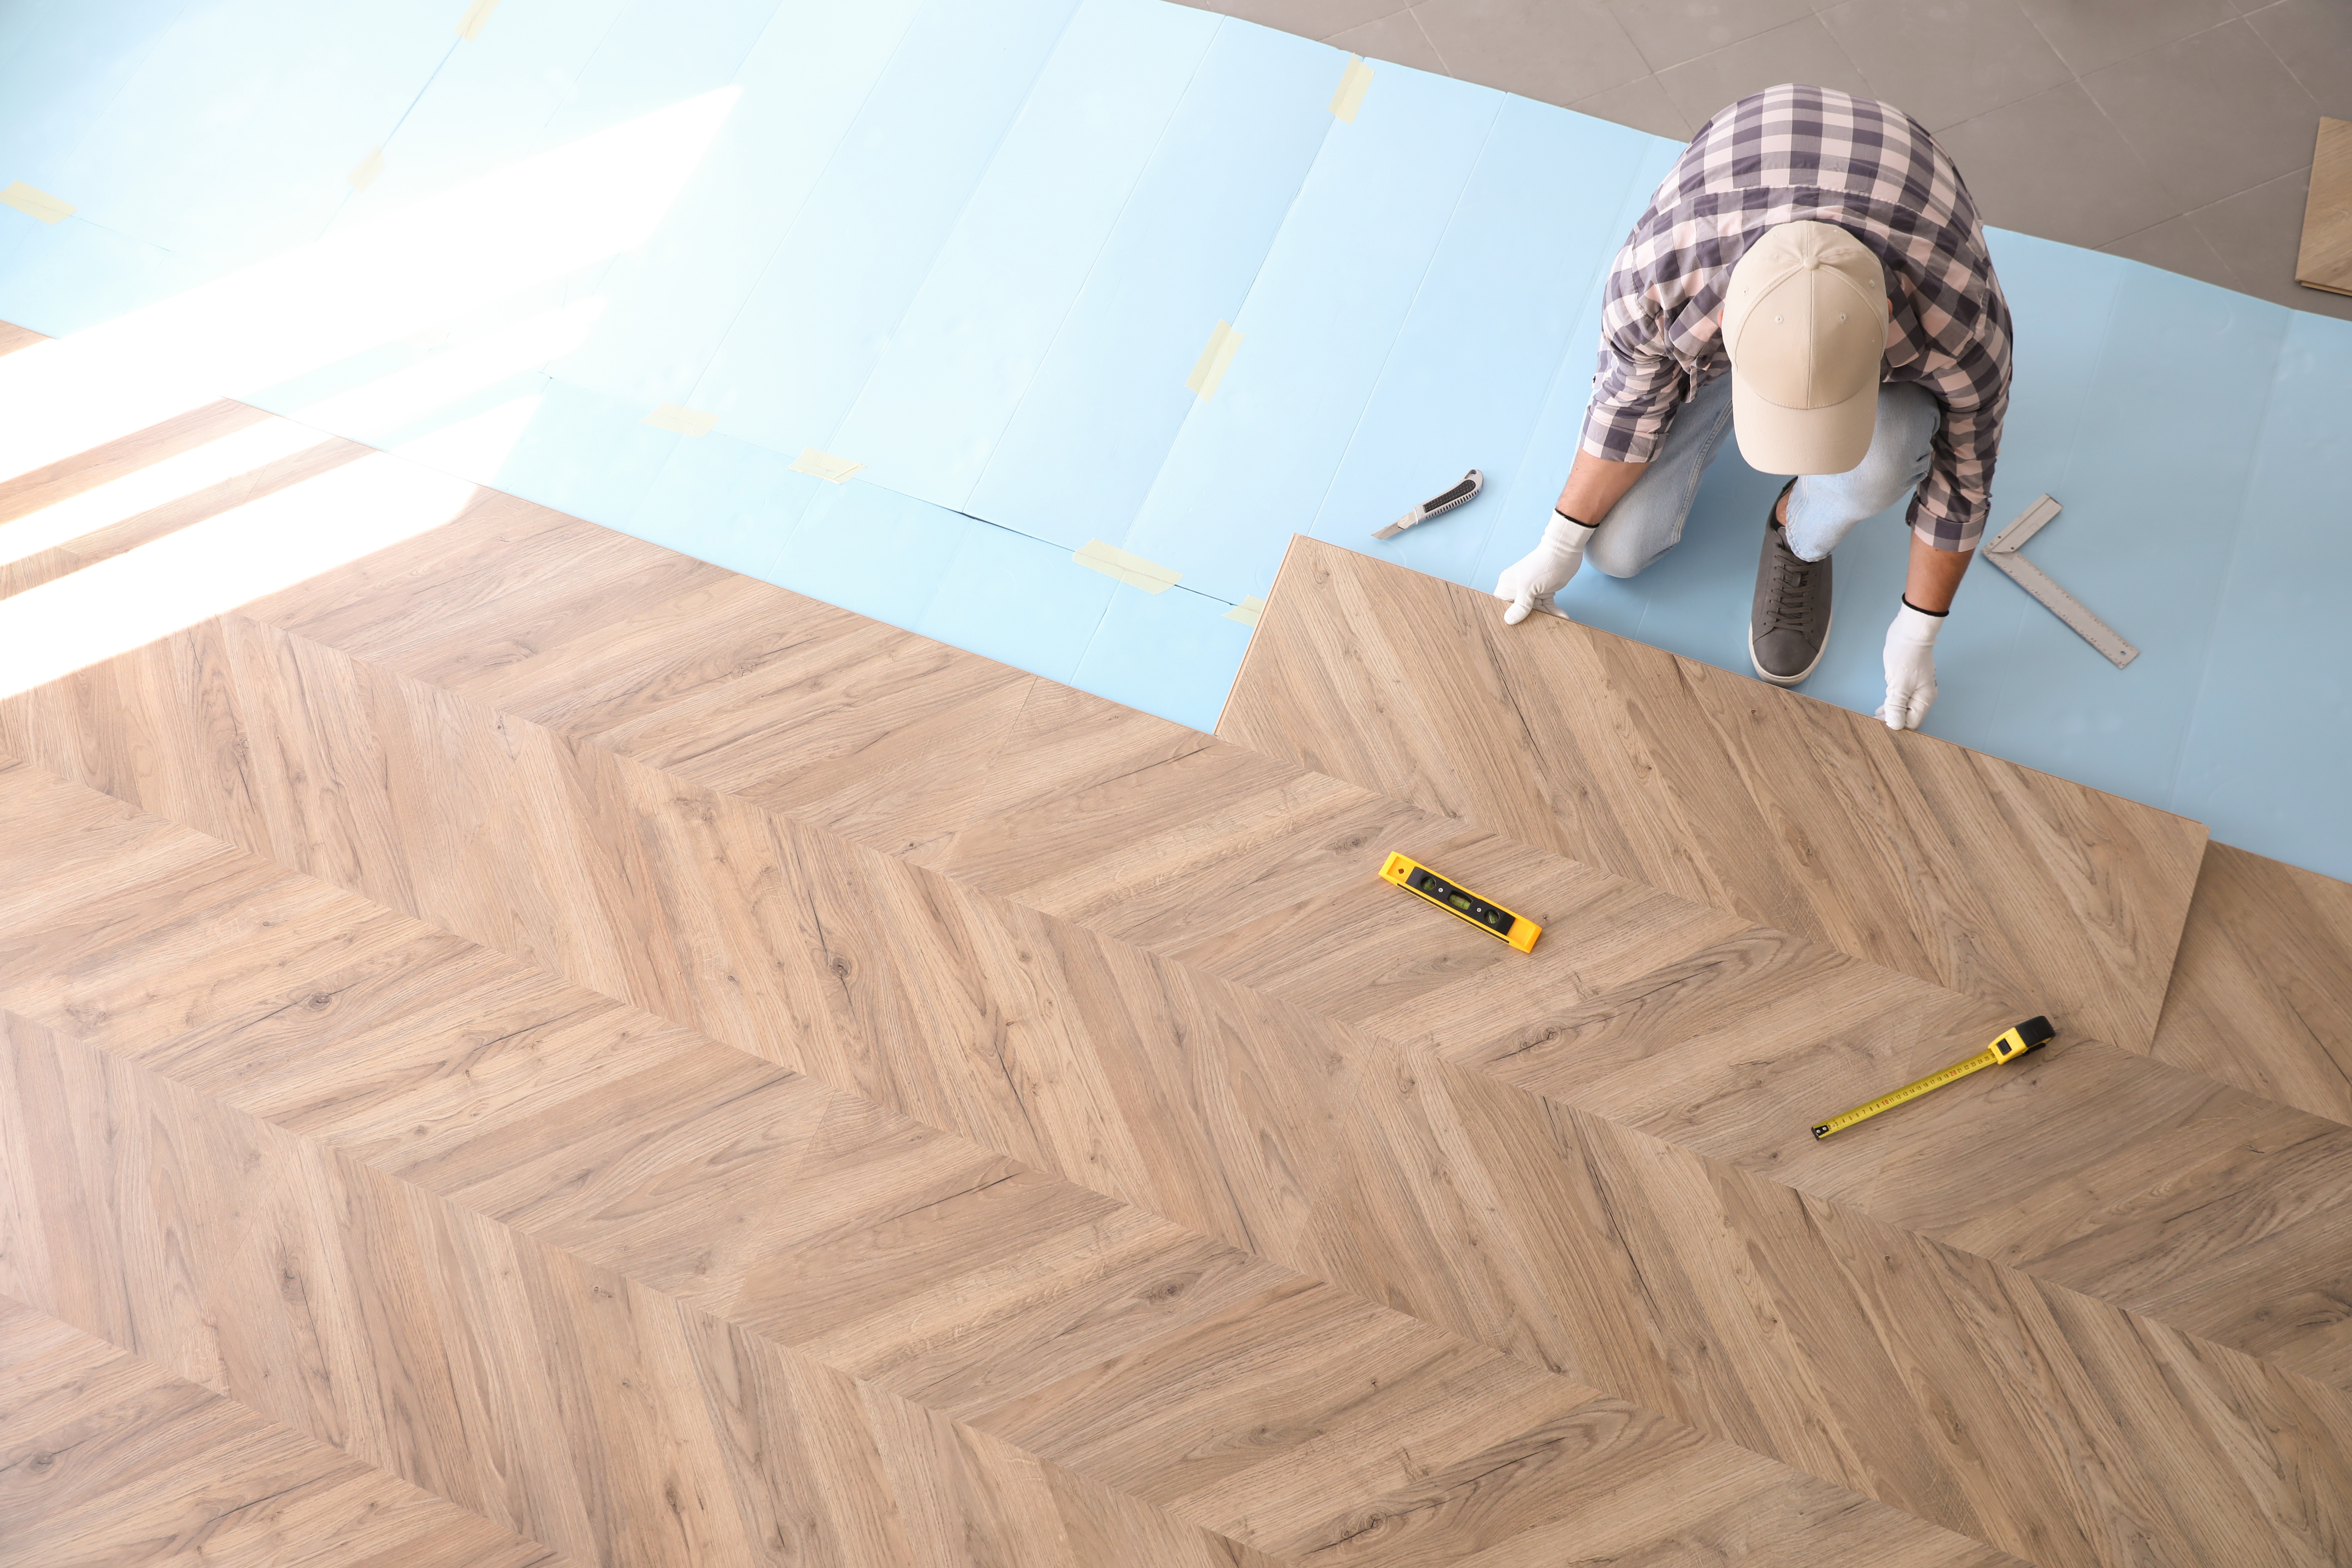
Step 4: Acclimate Your Flooring Materials
One of the most critical steps in the preparation process is acclimating your flooring materials. Different flooring types, especially hardwood, need time to adjust to the temperature and humidity levels of your home. This process helps prevent future issues like expansion, contraction, or warping.
For 2024 Installations: Plan to have your flooring materials delivered at least 48 hours before installation. This timeframe allows the materials to acclimate properly, ensuring a stable and long-lasting installation.
Step 5: Coordinate with Your Installation Team
Communication with your installation team is key to a successful flooring project. At Ketter’s Flooring, we take pride in our professional in-house installation services. By coordinating with our team, you can ensure that everyone is on the same page regarding timelines, expectations, and any special requests.
Pro Tip: Make sure to ask about the installation timeline and any specific preparations needed for your chosen flooring type. Being well-informed will help you plan accordingly and avoid any last-minute surprises.
Step 6: Prepare for the Installation Day
The big day is finally here! On the day of the installation, there are a few additional steps to ensure everything goes smoothly:
- Secure Pets and Children: For safety reasons, it’s best to keep pets and children away from the installation area.
- Check HVAC Settings: Maintain a consistent temperature and humidity level in your home, as fluctuations can affect certain flooring materials.
- Final Walkthrough: Before the installation begins, do a final walkthrough with your installation team to confirm that everything is in order.
Post-Installation: Caring for Your New Floors
Once your new floors are installed, you’ll want to take steps to protect and maintain them. Here are a few tips:
- Avoid Heavy Traffic: Give your floors some time to settle before placing furniture or walking on them too much.
- Use Area Rugs: Protect high-traffic areas with area rugs, especially in entryways and hallways.
- Follow Cleaning Guidelines: Different flooring types require different cleaning methods. Make sure to follow the manufacturer’s recommendations to keep your floors looking their best.
Ready to Transform Your Burlington Home?
At Ketter’s Flooring, we’re committed to helping you create the home of your dreams with our expert floor installation services in Burlington, WI. Whether you’re updating one room or your entire home, our team is here to guide you through every step of the process. Visit our showroom at 257 Milwaukee Ave, Burlington, WI, or contact us today to schedule a consultation and start planning your flooring project!

Leave A Comment